
Roof lifespan and replacement decisions
How to Inspect Your Roof
Last updated November 16, 2026 · Method · Corrections
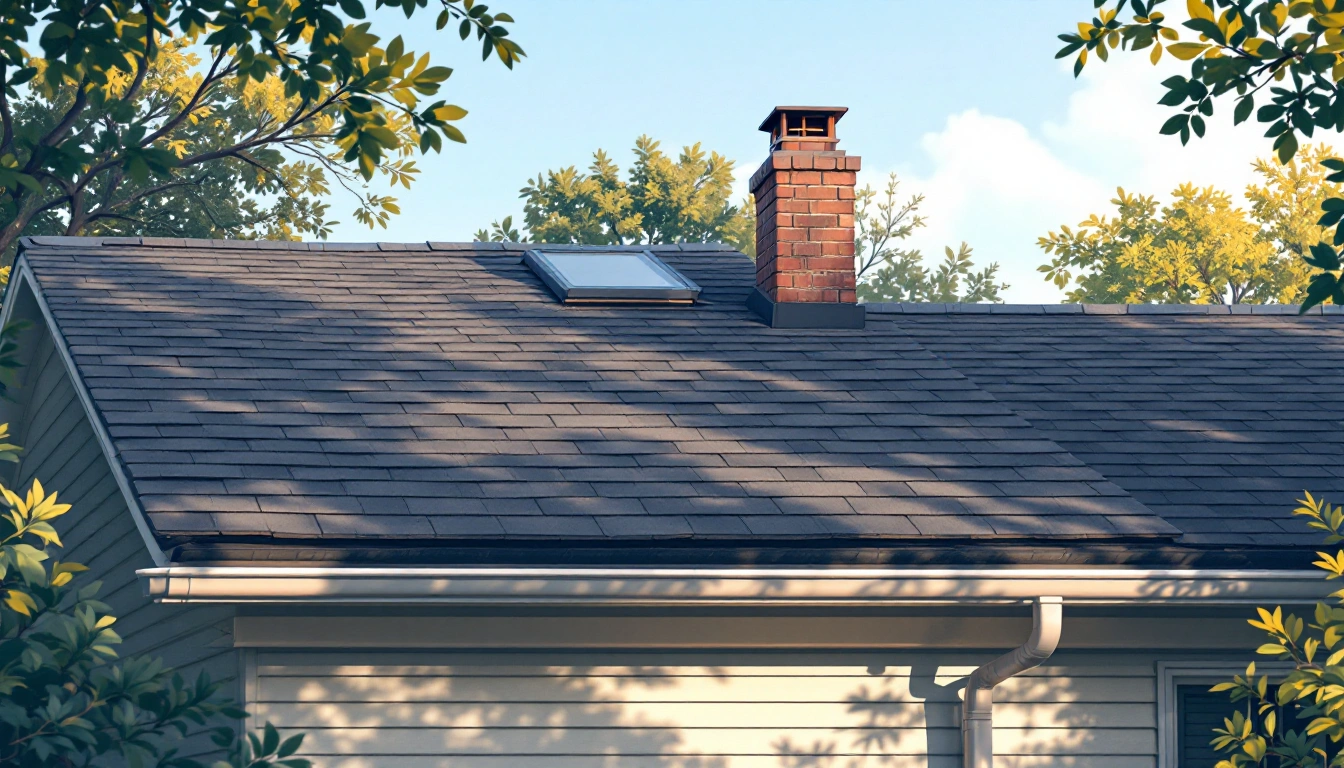
From the ground, look for damaged shingles, loose flashing, clogged gutters and changes in the roof line. Check inside for water stains, and ask a roofer to assess damage or areas you cannot see.
Sections7
From the ground, look for damaged shingles, loose flashing, clogged gutters and changes in the roof line. Check inside for water stains. Ask a roofer to assess damage and any areas you cannot see.
Before you start
Pick a clear day when the ground is safe to walk on. Bring binoculars or a camera with a zoom, a notebook and a way to record photos. You do not need to climb onto the roof to make a useful first record. Roofing work carries a fall risk, as OSHA's residential construction guidance explains. Leave roof access and close inspection to a qualified roofer.
Start at one side of the house and walk around it. Look from several safe positions so that trees or other parts of the house do not hide the same area each time. Stay clear of anything that could fall. Note which roof areas you could not see; a clear view from the street is not proof that every part is sound.
A ground check is a screening step. It cannot show the full condition of layers under the covering or confirm that a loose-looking part is secure. The Insurance Institute for Business & Home Safety's cedar roof guide says a thorough cedar inspection requires a roof-level examination. A roofer can explain what a closer check would cover.
Check the roof line and covering
- Look at the outline. From a safe distance, compare the ridge and roof edges with your earlier photos. Note any new dip, bulge or uneven area. If you suspect a roof could collapse, leave the affected building and contact emergency services or the local building authority.
- Scan each visible slope. On asphalt shingles, look for missing, torn, cracked or lifted pieces. Note whether the issue is in one spot or spread across the slope. Take a wide photo to show the location and a closer one if your zoom allows it.
- Look for debris. Note leaves, branches or other material collected in valleys, where two roof slopes meet. The institute's roof weathering guide explains that debris can trap moisture against a roof covering. Arrange safe removal if the area cannot be reached from the ground.
- Record changes. Write down the date and the side of the house. A small sketch can help you identify the spot later. Do not pull at a lifted shingle to see how firmly it is fixed.
The same method works with other coverings, but the signs differ. On wood, look for split, warped or missing pieces. On tile or slate, note broken or missing pieces. On metal, look for visible rust, open seams or fasteners that appear loose. A view from the ground may not reveal smaller defects.
The institute's weathering guide notes that walking on tile without care can crack it. It also identifies exposed fasteners and their gaskets as inspection points on metal roofs. A roofer can check these details without you stepping onto the covering.
Look at flashing and roof openings
Flashing helps direct water away from joints and openings. Look where the roof meets a chimney, wall, vent pipe or skylight. From the ground, note metal that appears bent, loose or out of place. Also note gaps or debris around these points, without assuming that every visible gap is a leak.
The U.S. Department of Energy's Guide to Durable Attics, published in 2010, identifies roof leaks and faulty flashing around roof openings as possible paths for moisture into an attic. A photo of a suspect joint can help a roofer find it, but cannot establish how the hidden layers fit together.
If a stain appears inside near a chimney or skylight, include its location in your notes. The water may travel before it becomes visible. Ask the roofer to trace the path and explain the proposed fix instead of assuming that the closest piece of flashing is at fault.
Check gutters, downspouts and eaves
- From the ground, look along each gutter for sections that sag, pull away from the house or hold visible debris. Check that downspouts are attached and point toward their intended outlets.
- Look beneath the eaves for peeling paint, stains or damaged trim. Note the location and whether it is near a gutter joint or an outlet.
- During rain, if it is safe to observe from shelter, look for water spilling over the edge or leaking from a joint. Do not stand under an overflowing gutter or falling water.
- Arrange cleaning or repair when access is beyond safe reach. Ask for downspouts as well as gutters to be checked, so water has a clear path away.
The institute's 2022 winter preparation guidance includes clearing gutters as part of preparing a home for winter. For more on seasonal damage, see winter roof damage.
Check inside for moisture
Look at ceilings and walls beneath the roof for fresh stains, wet spots or drips. Note when you first saw each mark and whether it grows after rain. Move belongings away from an active drip and arrange an inspection. Keep away from wet electrical fittings and seek qualified help with that hazard.
If the attic has safe access and a stable walking surface, look for damp wood, stained sheathing or wet insulation. Do not step between joists or disturb wiring. Leave an unsafe or hard-to-reach attic to a professional. A flashlight can help you see from the access point without entering farther.
The Energy Department guide explains that attic moisture may come from roof leaks, but also from humid indoor air passing through gaps around items such as pipes and wiring. A stain is a reason to investigate, not proof of one particular cause. Ask the inspector to identify the source before work is ordered.
Decide what happens next
Use your notes to describe the location, extent and timing of each concern. A missing shingle after a storm and a stain that has returned after a repair give a roofer different clues. Keep old photos and repair records with the new ones so changes are easier to compare.
Ask for a written account of what was inspected, what could not be seen, and what needs closer examination. For proposed work, ask which parts will be repaired or replaced and why. If the roof line has changed or a structure concern is raised, ask who is qualified to assess it.
A visible defect does not by itself prove that the whole roof needs replacement. The guide to signs you need a new roof helps separate a warning sign from a replacement decision. The roof lifespan guide explains how age and condition fit into that decision.
Set a routine
Make a ground check part of your seasonal home care. Spring and fall give you chances to notice changes before and after winter. Check again after a major storm once conditions are safe. The timing of a closer professional inspection depends on the roof, its condition and any concerns found; ask a roofer what is suitable for your home.
Keep each set of notes together. Mark areas hidden by trees, steep angles or another roof plane as unseen. At the next check, use the same viewpoints where possible. This makes it easier to spot a change and gives the roofer a clearer record if you need help.
Quick answers
Can binoculars show every roof defect?
No. They can help you see parts of the roof from the ground, but they cannot show concealed layers or every attachment. Ask a roofer to check areas you cannot see.
Should I inspect after a storm?
Yes, once it is safe to go outside. Look for new damage from the ground and note when the storm occurred.
Does a roof stain always mean a leak?
No. Attic moisture can come from several sources, including air moving up from rooms below. Have the source traced before choosing a repair.
Can I walk on tile to see it better?
Leave roof access to a professional. Walking on tile incorrectly can crack it.
What should a roofer's report include?
Ask for the areas examined, the findings, any areas not accessible, and a written repair scope with the reason for the work.