
Roof replacement project
DIY Shingle Roof Replacement
Last updated November 14, 2026 · Method · Corrections
Strip the old roof, repair the deck, and install underlayment, flashing, shingles and ridge caps. Plan fall protection and use the layout for the exact products.
Sections6
A full replacement starts with removing the old shingles and repairing the deck. Then install underlayment, flashing, new shingles and ridge caps. Plan fall protection before access and follow the product instructions. If you cannot do the work safely, hire a qualified roofer.
The roof replacement process explains the wider project, from quotes to cleanup. The steps below cover a full tear-off and a new asphalt shingle roof. A recover puts another covering over the old one and calls for a separate assessment.
Decide if you can take on the job
Roof work involves exposed edges, ladders, openings and falling debris. OSHA's residential reroofing guide describes fall protection for roofing crews during both removal and installation. A harness needs a compatible anchor, connector and rescue plan.
- Check that you can arrange safe access, fall protection and a clear area below the work. Plan how a fallen person would be rescued.
- Ask the local building department about permits, inspections and the rules for your address. Obtain any required permit before work starts.
- Identify the roof covering and the structure. If you suspect asbestos, leave it alone and arrange an assessment before disturbing it. The EPA says only a qualified lab test can confirm the material.
- Choose a roofer instead if access, anchoring, damaged structure or a complex junction is beyond your skills. Get the concern resolved before any tear-off.
Do not open the roof in rain, high winds or other unsafe conditions. Plan how to cover an exposed area if weather changes. Keep people and pets away from falling material and the disposal area.
Plan the roof and order materials
Use a measured roof report to list each plane, edge, valley and opening. The shingle measurement guide shows how to separate roof surface from the lengths needed for starter and ridge pieces. Order against the coverage of the exact products, with an allowance for cuts. Keep unopened items protected from weather.
Gather a tear-off shovel or pry bar, hammer or roofing nailer, utility knife, tape, chalk line and a container for debris. The material list normally includes deck repair stock, drip edge, underlayment, flashing, starter, field shingles, ridge pieces and compatible fasteners. The product and roof details decide the sizes and amounts. Arrange delivery, disposal and a way to protect plants and nearby property before stripping anything.
The Asphalt Roofing Manufacturers Association (ARMA) reroofing bulletin, revised February 2024, explains that replacement lets the deck be inspected and repaired. A recover may be limited by local code, the deck and the existing covering. Do not assume a second layer is allowed.
Remove the old roof and inspect the deck
Work only on an area that can be made weather-tight. Arrange a safe route for debris and keep nails out of paths. ARMA's preparation guidance (2017) describes removal to the deck or existing self-adhered underlayment and calls for damaged sheathing to be replaced.
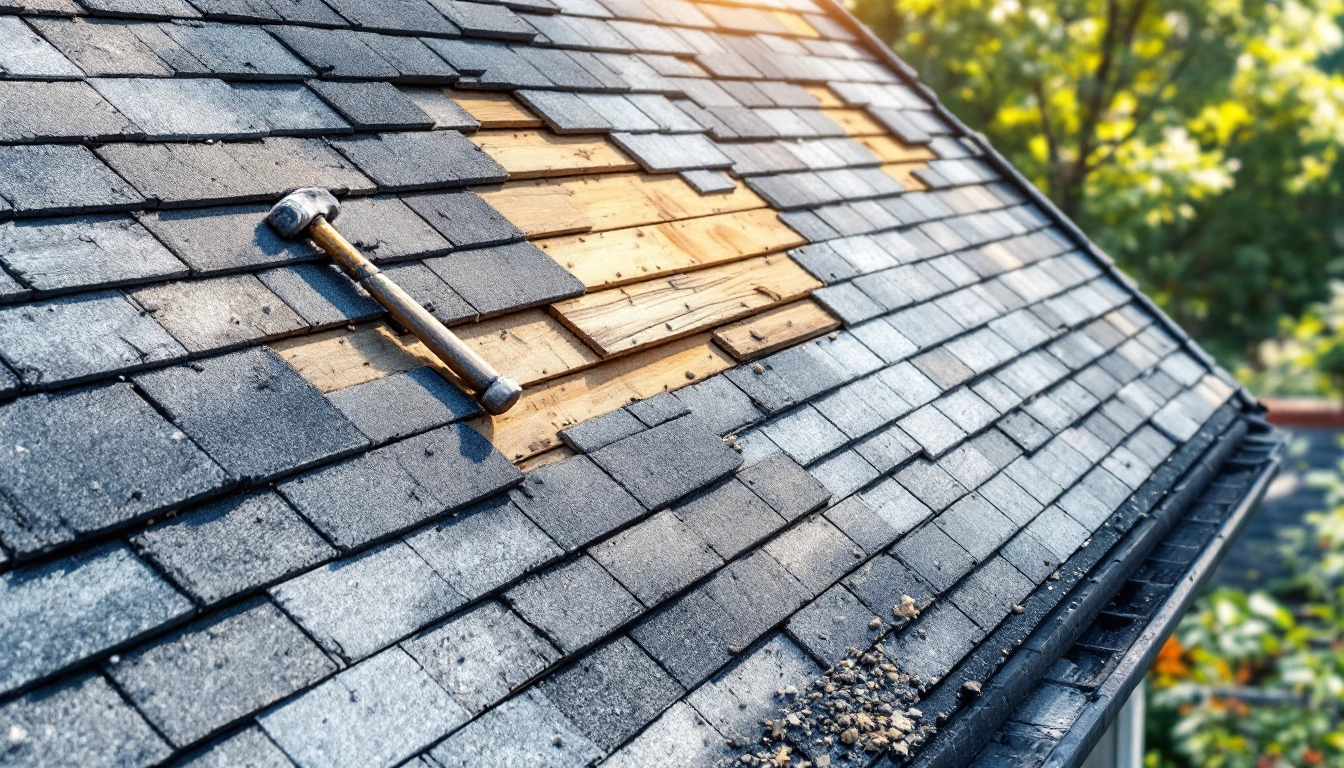
- Starting at the high part of the work area, lift old shingles and fasteners with a tear-off tool. Move loose debris to the disposal container. Take care around pipes, walls and other openings.
- Remove or drive flush remaining fasteners and sweep the exposed surface. Lift deteriorated edge metal and flashing where replacement is planned.
- Look for soft, rotten, warped or loose sheathing. Mark each affected area. Replace damaged sheathing with material suited to the deck and its supports; fasten it to sound framing.
- Stop if framing is damaged or the roof sags. Get a structural assessment and repair plan before closing the area.
The amount of concealed repair cannot be known from a ground view. Photograph repairs before the next layer covers them.
Install the base layers and flashing
ARMA's May 2025 underlayment bulletin says asphalt shingles should not go directly on a wood deck. Underlayment sits between the deck and shingles. Its type and installation depend on the roof and local rules. They also depend on the selected shingle.
- Fit the eave drip edge to the sound deck. Secure it using the pattern for that underlayment.
- Add any required self-adhered ice barrier at vulnerable areas. Lay valley protection and rake-edge metal in the order shown for the chosen assembly and local rules.
- Fit flashing at walls, chimneys, pipes and other openings. Integrate each piece with the layers above and below so water sheds over the next layer.
- Check for wrinkles, gaps, loose fasteners and exposed deck before covering the area. Fix them while the base is still visible.
Use the underlayment guide to compare the layer types. A low-slope section can need a different assembly from the main roof. Its pitch and details need to be identified before material is ordered.
Lay starter and field shingles
Shingle layout, fasteners and exposure vary by product. The following example shows why the exact package matters. Owens Corning's Duration Series instructions specify a 6 1/2-inch offset and 5 5/8-inch exposure for that series. Those figures are not rules for every shingle.
- Mark straight guide lines on the prepared roof. Install the matching starter at the eave and any other edge required by the assembly. Use the specified overhang and fasteners.
- Place the first field course at the lower edge. Fasten each shingle in the positions and number specified for the selected product and wind conditions.
- Add courses across and up the roof. Offset joints and expose only the amount specified for that shingle. Keep the rows aligned with the guide lines.
- At valleys, walls and penetrations, cut and fit shingles around the installed flashing using the chosen detail. Keep required water paths clear.
ARMA's nail guidance calls for nails to sit straight and flush. It says to remove crooked or overdriven nails, repair the hole with suitable roof cement and place another nail nearby. An overdriven nail cuts into the shingle, so repair or replace it, as ARMA advises.
Finish the ridge and clean up
- Install any specified ridge vent over its prepared opening.
- Apply the matching hip and ridge pieces in the required direction and overlap. Secure the final piece using the chosen product's detail.
- Clear debris from the work area and gutters. Collect loose nails from the ground, then check again around paths and planting beds.
- Arrange any required final inspection. Keep the permit, product details, repair photos and warranty documents together.
Quick answers
Should shingles be mixed from different bundles?
The Duration Series instructions recommend blending shingles from one bundle into the next to reduce normal shade variation.
Should the wood deck get wet during installation?
Keep it dry. The Duration Series instructions say to prevent the wood deck from getting wet before, during and after installation.
Can a fall restraint system prevent a person reaching an edge?
When properly rigged, a fall restraint system keeps the worker from reaching the fall hazard. OSHA describes it as an alternative to a fall arrest system for workers.
Is the price of shingles the full cost of the job?
No. Add the costs of removal, disposal, underlayment, flashing, fasteners, safety equipment, permits and any repairs. Some repair costs may stay unknown until the old roof is removed.